Introduction
Building your own gaming PC is a rewarding experience that allows you to create a system tailored to your needs and budget. Whether you’re a beginner or an experienced PC builder, this step-by-step guide to building a gaming PC will walk you through the entire process.
From selecting the best components to assembling your gaming rig, this guide will help you design a machine capable of handling the most demanding games and ensuring a smooth, enjoyable gaming experience.
Why Build Your Own Gaming PC?
There are several advantages to building your own gaming PC, including:
Customization: You can select each component based on your specific needs, ensuring optimal performance.
Cost Efficiency: A custom build is often more affordable than pre-built options with similar specifications.
Upgradable: Custom PCs are easier to upgrade over time. As newer, more powerful parts are released, you can swap out individual components rather than purchasing an entirely new system.
Performance: By hand-picking your components, you can prioritize performance—especially important for high-end gaming.
Key Components of a Gaming PC
Building a gaming PC requires selecting the right components. Below are the core parts that make up your gaming rig:
1. Central Processing Unit (CPU)
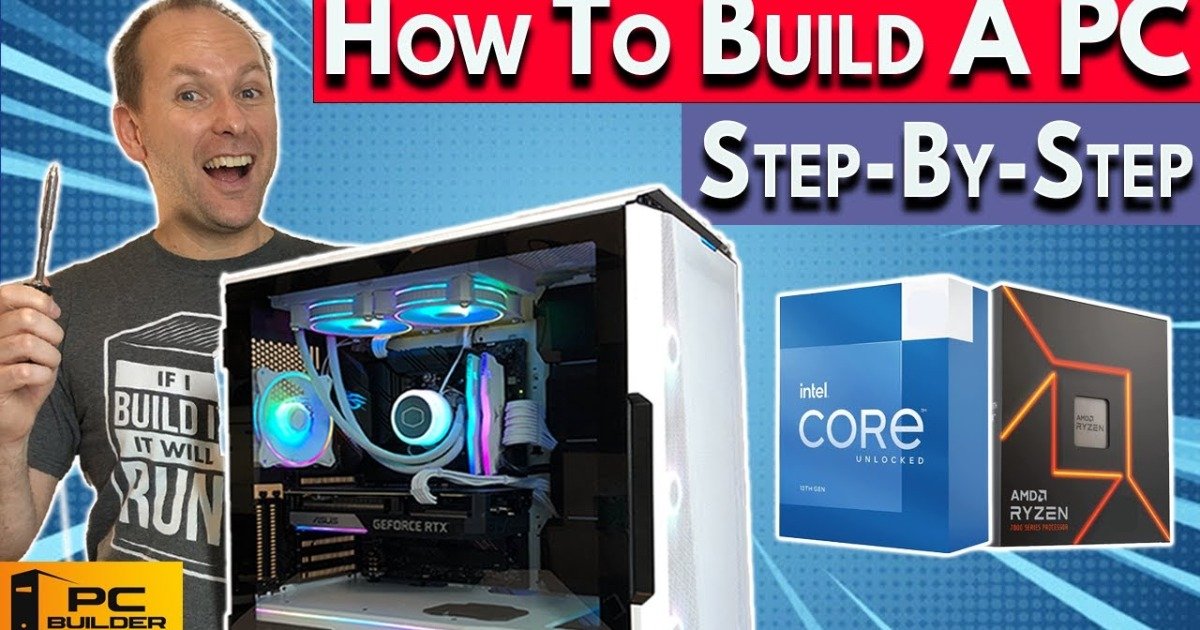
The CPU is the core of your system, responsible for processing and executing tasks. For 2026 gaming, Intel Core i7/i9 or AMD Ryzen 7/9 processors offer the best performance for gaming and multitasking.
2. Graphics Processing Unit (GPU)
The GPU is crucial for rendering high-quality graphics. For 4K gaming or VR, opt for the NVIDIA GeForce RTX 40 series or AMD Radeon RX 7000 series GPUs, as they deliver powerful performance for next-gen gaming.
3. Motherboard
The motherboard connects and supports all your components. Ensure compatibility with your CPU and sufficient PCIe slots for your GPU and additional expansion cards. Good options include the Intel Z590 or AMD B550 motherboards.
4. RAM
For gaming in 2026, a minimum of 16GB of DDR4 RAM is recommended, with 32GB being ideal for high-end gaming and multitasking.
5. Storage (SSD/HDD)
A 500GB SSD is essential for fast load times, while an HDD (Hard Disk Drive) offers additional storage for games and files. SSDs are much faster than traditional hard drives, ensuring your games load quickly.
6. Power Supply Unit (PSU)
The PSU powers all your components. A 750W PSU is recommended for most gaming builds to ensure your system has enough power to run smoothly.
7. Cooling System
A good cooling system prevents overheating. Whether you choose air cooling or liquid cooling, ensuring proper airflow is crucial to maintain your system’s longevity and performance.
8. Case
Your case houses all the components. Choose one with adequate airflow and enough space to fit your parts comfortably. A well-designed case can also help with cable management.
Step-by-Step Guide to Building a Gaming PC
Step 1: Select Your Components
The first step in building a gaming PC is selecting the right parts. Here are some tips for choosing components that fit your gaming needs:
CPU: Choose based on your gaming resolution. For 4K or VR gaming, opt for a high-end CPU like Intel Core i9 or AMD Ryzen 9.
GPU: The NVIDIA GeForce RTX 30/40 series or AMD Radeon RX GPUs are perfect for gaming at high resolutions. Budget-friendly options include NVIDIA GTX and AMD Radeon RX 6000 series.
Motherboard: Make sure it’s compatible with your CPU. Z590 (Intel) and B550 (AMD) motherboards are top choices.
RAM: Opt for 16GB or 32GB of DDR4 RAM depending on your gaming needs.
Storage: SSDs are faster than HDDs, so go for a 500GB SSD or larger for faster load times.
Step 2: Assemble the Components
Once you have all your parts, follow these steps to assemble your PC:
Install the CPU: Carefully place the CPU into the motherboard socket, ensuring proper alignment.
Insert RAM: Slot the RAM into the motherboard’s DIMM slots.
Install the CPU Cooler: Apply thermal paste (if needed) and install the cooler.
Mount the Motherboard: Secure the motherboard in the case using screws.
Install the PSU: Position the PSU inside the case and connect the necessary cables to the motherboard, GPU, and storage.
Install the GPU: Insert the GPU into the PCIe slot on the motherboard.
Connect Storage: Attach your SSD and HDD to the motherboard and connect them.
Connect Cooling: Set up your cooling system to optimize airflow.
Cable Management: Organize cables for better airflow and a cleaner look.
Step 3: Boot Up Your PC
After everything is connected, power on your system. If everything is working correctly, proceed with installing your operating system. Most users choose Windows 10 or 11.
Expert Tips for Optimizing Performance
Overclocking: Overclocking your CPU and GPU can provide a performance boost, but ensure you have adequate cooling before doing so.
Driver Updates: Keep your drivers up to date for optimal performance. Regular updates will ensure that your hardware works smoothly with the latest games.
Cable Management: A tidy setup improves airflow and reduces heat build-up, keeping your system running cool.
Future-Proofing: Select components that will handle future software and games. A high-end GPU and 32GB RAM will ensure your system lasts for years.
Common Mistakes to Avoid
Compatibility Issues: Always check if your components are compatible with each other, especially the CPU, motherboard, and RAM.
Inadequate Cooling: High-performance components generate heat, and insufficient cooling can cause system instability.
Underestimating Power Needs: Ensure your PSU has enough wattage to handle your entire system, especially if you plan to overclock or add multiple GPUs.
Costs & Budgeting for Your Build
The cost of building a gaming PC can vary greatly depending on your performance goals:
Budget Build: $500–$1,000. Ideal for 1080p gaming at medium settings.
Mid-Range Build: $1,200–$2,000. Perfect for 1440p gaming at high settings.
High-End Build: $2,000+. Suitable for 4K gaming, VR, and ultra-high settings.
Remember, prices fluctuate depending on availability, so always compare deals before purchasing your components.
Frequently Asked Questions
What parts do I need to build a gaming PC?
A gaming PC requires a CPU, GPU, motherboard, RAM, storage, PSU, cooling system, and a case.How much does it cost to build a gaming PC in 2026?
The cost can range from $500 to $2,000, depending on the components and performance level.Can I build a gaming PC on a budget?
Yes, you can build a gaming PC for as little as $500 with cost-effective components like a mid-range CPU and budget GPU.Which GPU is best for 4K gaming in 2026?
The NVIDIA GeForce RTX 4080 and AMD Radeon RX 7000 series GPUs offer excellent performance for 4K gaming.How can I future-proof my gaming PC?
Choose components like a high-end GPU, 32GB RAM, and a fast CPU to ensure your system remains relevant for years to come.Intel vs AMD for gaming—what’s the difference?
Intel CPUs generally offer better single-core performance, ideal for gaming. AMD CPUs provide excellent multi-core performance and offer better value.What should I prioritize when building a gaming PC?
Focus on the GPU for gaming performance, followed by the CPU for speed and multitasking. Ensure you have at least 16GB RAM and an SSD for fast load times.
Conclusion
Building a gaming PC is an exciting way to get exactly what you want from your gaming setup. By selecting compatible components, assembling your PC correctly, and optimizing its performance, you’ll create a machine that can handle anything from casual gaming to intensive AAA titles. Whether you’re building on a budget or creating a high-end rig, this step-by-step guide to building a gaming PC will help you achieve your dream setup.